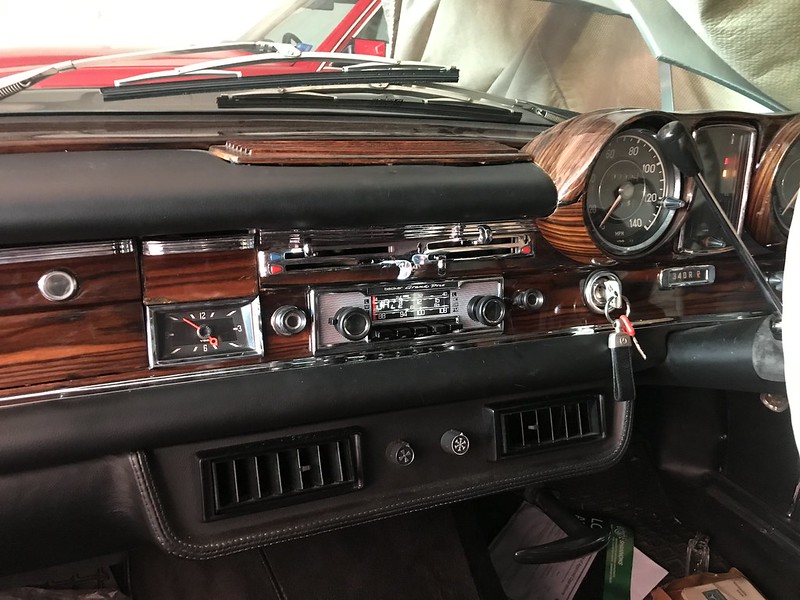
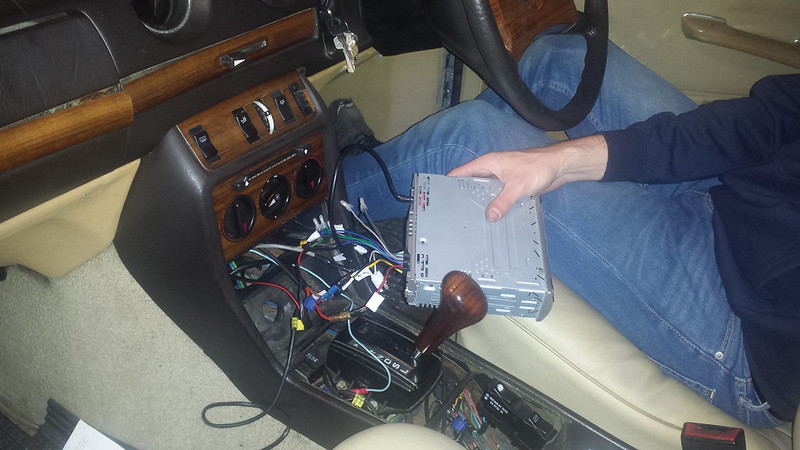
Today I completed the install of the Classic Auto Sound Becker Tribute. In the first part, I removed the old Clarion, and installed the the Retrosound wiring harness. I also tested the radio and it was working fine. The new radio looks great and is a huge improvement over the Clarion CD player.
Installation Step 4: Convert the Becker Tribute radio to DIN
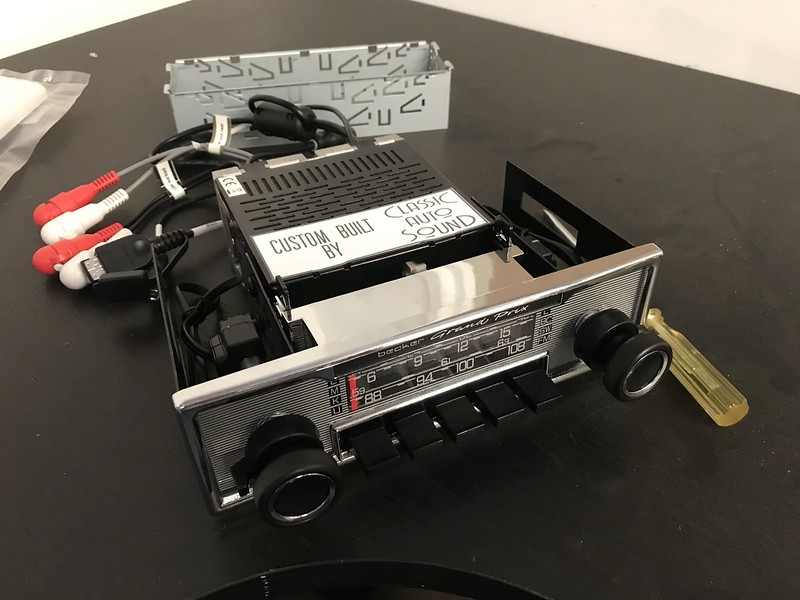
At some point in its life, somebody cut the dashboard of my 250SE for DIN. To fit the new radio, I also needed to order a DIN kit. The radio was supposed to be already set up with the DIN kit from Classic Auto Sound, but I guess they forgot. Not a big deal, as all the parts were included for the conversion.
The way DIN radios work is that a sleeve is placed in a standard size opening. There are tabs in the sleeve that are bent into place to hold the sleve in. There are also tabs to engage with the radio. In order to engage the tabs, the radio needs to have the right hardware.
The photo above shows the DIN fittings on the right, and the original fittings on the left. The DIN radio also needs to fit through the standard opening, so the tabs that can be seen below sticking up from the frame of the radio also needed to be cut off with a dremel tool. The DIN sleeve can be seen in the background behind.
Installation Step 5: Mounting the Bluetooth Microphone and USB port
One nice feature of this radio is the Bluetooth feature. Not only can you stream music via Bluetooth, but you can also use the radio as a phone hands free kit. There is a microphone supplied for the hands free.
Originally, the W111 Coupe/Cabriolet models had a single speaker mounted in the top of the dash. This speaker is covered by a rather attractive wooden grille. My car has been set up to use four speakers, so there is no speaker under that grille. This was a perfect place to mount the little microphone. In order to do so, I made a simple bracket.
At some point it looks like somebody has tried to fit a bigger set of speakers and has hacked the metal around the factory speaker space. Even at the bottom of the depreciation curve, W111 Cabriolets were always worth money but this didn’t stop people hacking the cars. Still, my car is less hacked than many.
The wooden grille just slots into place, so the USB port can be easily accessed. I have a mini 8Gb USB stick with my entire music collection in the car.
Installation Step 6: Final installation
The final installation is rather simple. I installed the DIN cage and pushed the radio into place. I also took the time to fix the front interior light on the drivers side. This is a standard Bosch part shared with some VWs.
Thankfully, I didn’t have to remove the radio again to fix a bad connection as I fired it up and straight away heard the unmistakable riff of Cream’s ‘White Room’. Sounded really good – better than the old radio for sure. I also called my brother in Perth and the USB microphone seems to work quite well as I have mounted it.
Final Thoughts
Overall I am really happy with the Becker Tribute radio. It’s made a huge difference to the looks of my 250SE and it sounds great. I’ve also got USB music and Bluetooth streaming for long trips. If you look carefully through the original speaker grille, you can see my bracket, so I may install some mesh to hide it.
Retrosound make great units, but there are areas for improvement:
- There is not much room in the dash of many classic cars, so instead of having the amp leads, additional inputs etc hanging out of the back of the radio, these should be on a detachable harness.
- Since most classics have battery disconnect switches, the non volatile memory should not only be available in the top of the range radios with DAB+ etc. I would estimate far more classic car owners use battery switches than install an amp, yet even the basic models have provision for an amp.
- The radio should not default to multi-colour, it should default to white.
- It would be great if the buttons were customizable so they could have LMKUU markings on them like the original radios.
Despite those improvement areas, I am really happy with this upgrade. I would purchase another Retrosound product from Classic Auto Sound.
Update: 7/10/19, Classic Auto Sound have updated the radios with LMKUU stickers. Really improves the look of the radio.


[…] Classic Auto Sound Becker tribute radio part 2 […]