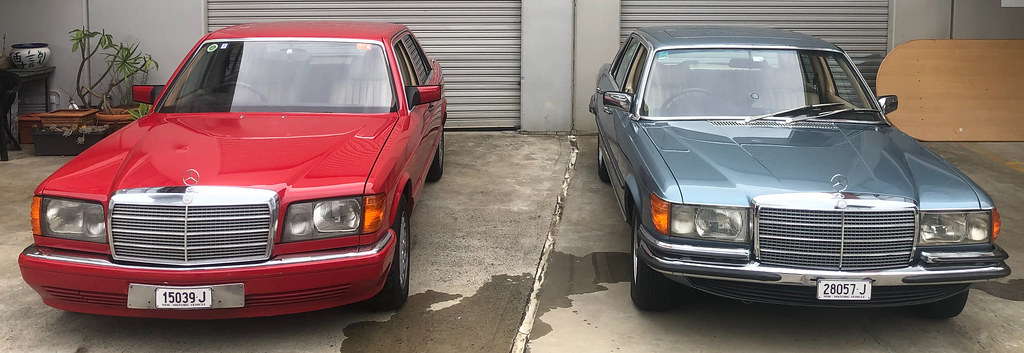
The W126 was the first Mercedes to feature plastic cladding. I’m not sure this is the best feature of the W126, but it started a trend that would continue for many years. The W126 cladding is attached to the car with a series of clips and consists of eight peices (four on each side) along the line of the bumper bars. The cladding is not the same colour on each car. Before 10/88 it was a contrasting grey, and after 10/88 it was generally a darker shade of the body colour.
This page (in German) provides all the colour codes, but basically both my 560s call for 5944 Fregatblau, as this is they grey matched with 929 Nautical Blue for the second series. My 300SE should be 7176 Muschelgrau, but it has been painted Signal Red on both the body and the cladding. I prefer this as I don’t think Muschelgrau goes well with Signal Red. After 9/88 it would be 3515 Tartanrot, which is much better.
Before I owned it, my 560SEC took some minor damage on the front passengers side behind wheel. One of the cladding pieces was damaged and the body slightly dented behind it. The cladding piece sort of held on but used to flap about as I drove. Not a great look.
There is slight damage on the door piece as well, but it is not so bad. I am not in a position to fix it properly right now, but was looking for a better temporary fix. A couple of months ago, I purchased another SEC cladding piece on eBay for this side of the car. I also collected some additional clips during a visit to a junkyard in the USA.
The piece of cladding I purchased was not Fregatblau, so I could not simply attach it. Luckily, Autobarn, an Australian auto parts chain will make up an aerosol can or touch up pot of any paint code for a reasonable price. I purchased an aerosol of Fregatblau to paint this piece of W126 cladding and a pot of 929 Nautical Blue to fix a few stone chips on this car and the SEL.
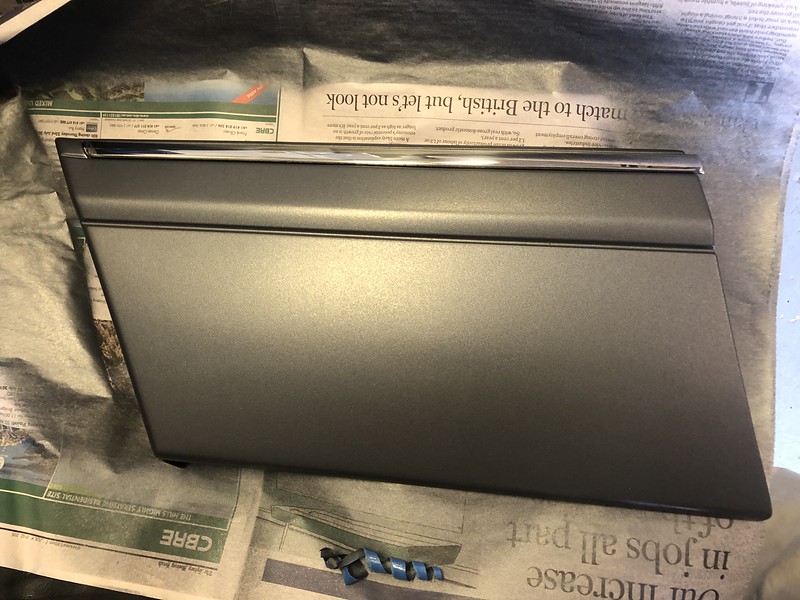
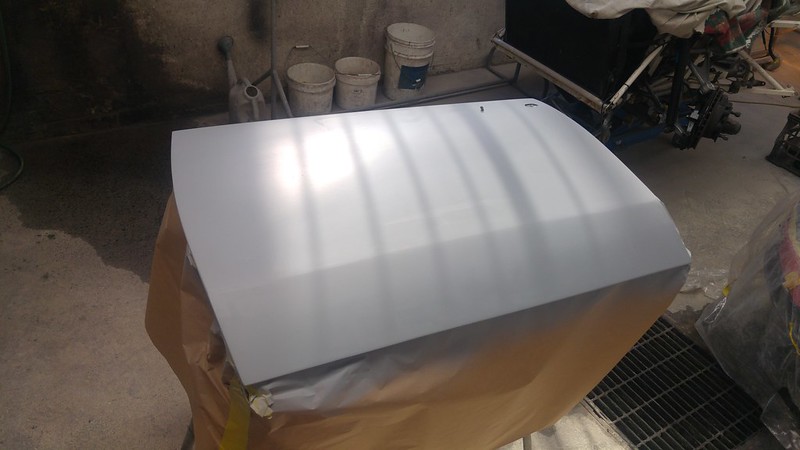
After roughing up the surface of the cladding and masking off the chrome, I applied the first coat. In the end I applied four coats. From what I gather, the factory used a Matte clear coat. I could not find a aerosol matte clear so I just used the colour. The photo of the wet paint makes it look darker than it really is.
Obviously I am never going to be able to match the colour of 30 years faded W126 cladding with a pressure pack. The aim here is to get close enough so the car still looks good and I can fix it properly in a couple of years when I take care of the rust under the rear screen.
Despite all this the match is actually pretty good. I am pretty happy with the result. The newly painted panel looks better than the previous ones, but is not so off that it is hugely noticeable. The chrome strip is also easy to mask off.
 On removing the old cladding, the body is slightly more dented than I previously thought. It was a bit of a struggle to get the newly painted cladding to line up properly. In particularly the top right hand mounting point is the centre of the damaged area.
I found it was easiest to insert the hooks into the top square holes first and then try and align against the white circle pieces. It is a bit tricky as the bottom mounts can’t be seen once the top ones are in. Considering the outlay of the entire project was minimal, I am pretty happy with the result. I am also quite hopeful of how the pot of touch up paint will help remove some stone chips, particularly on the panels below the headlights.
 I am hoping that once I drive around, the new piece will remain in place and not continually coming loose like it was previously. It certainly seems like it is holding on much better.


[…] Repainting the W126 cladding […]