560SEC Improvements Part 2
Today I continued working on the 560SEC. I gave the car a quick wash to get a better sense of the condition of the paint. Overall it is pretty good for its age, with the usual minor chips and scrapes here and there. The worst is a small amount of damage on the passengers side in front of the door (behind the plastic lower trim). I still think this can be a good car with some improvements.
My plan was to remove the after market chrome wheel arch trims. I have removed them from both the 450SLC and my 300SE. On this car they have been attached with both screws and glue. I don’t think I will easily be able to remove them and not have marks on the paint, so I will leave them in place for now.
Next was to inspect the fuses. This is something I like to do with a new car to ensure the fuses are all correct and in good condition. The ceramic fuses used in Mercedes of this era become brittle with age. I’ve also found that sometimes previous owners substitute the wrong fuses. On this car all the fuses were correct, but a number were quite old and brittle. Three of them came apart as I removed them. Therefore I replaced all the fuses with new ones.
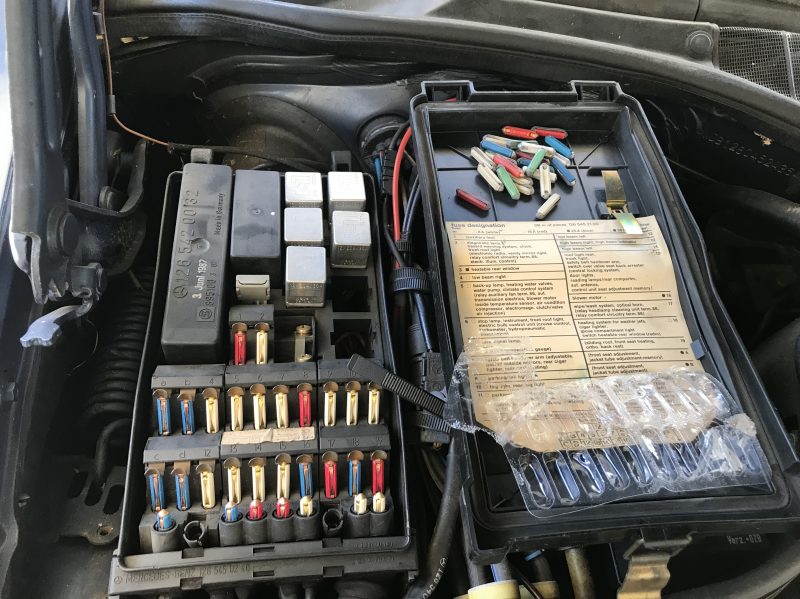
The Mercedes fuse box has places to hold spare fuses. It is also worth making sure the spare fuses are in good condition as well.
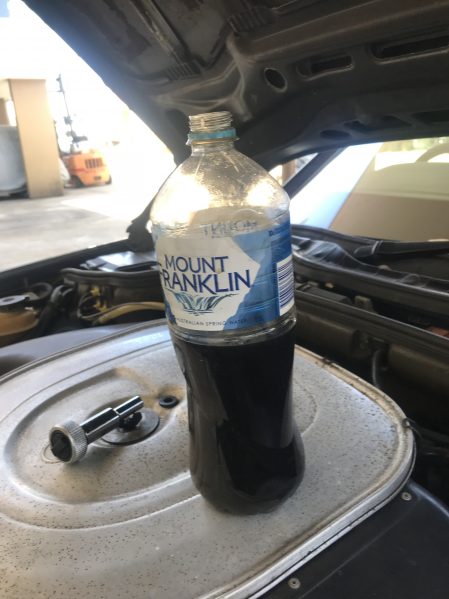
Next was to flush the power steering system. To do this job properly you need an assistant. Without an assistant you will get power steering fluid everywhere and the pump will suck air for a few seconds. I didn’t have an assistant today, so when I do this job on the 300SE, I will make sure I do! I was pleased to see that the car had the proper Mercedes power steering fluid and not ATF. This fluid is similar colour to engine oil. I’m glad I ddi the flush as the fluid that came out was very dirty. I also changed the filter as a matter of course.
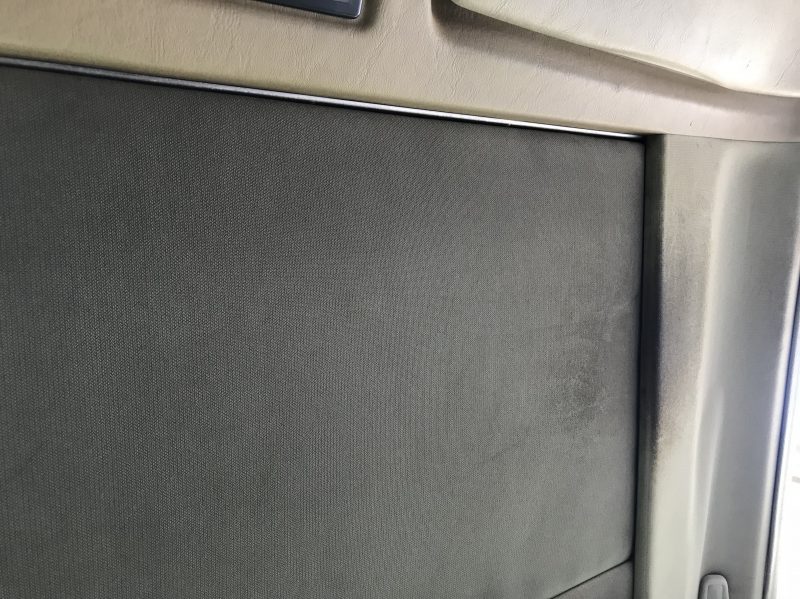
From there I turned my attention to cleaning the inside. The seats had responded well to a clean and feed, but there were still dirty areas in the interior. The worst was the headlining. The sunroof panel was extremely dirty and there was also an oily residue above the drivers head. I can only assume a previous owner used a lot of product in their hair. The first picture shows the headlining before cleaning.
The spot on the right is above the drivers head. I used an Auto-Glym interior shampoo. It made a big difference and the microfiber towels I was using for the cleaning were filthy from the amount of dirt it was able to remove. I also used it on some other dirty areas as well as the small carpet in the centre console. The second picture is after cleaning and while it is not perfect, it is certainly a lot better. 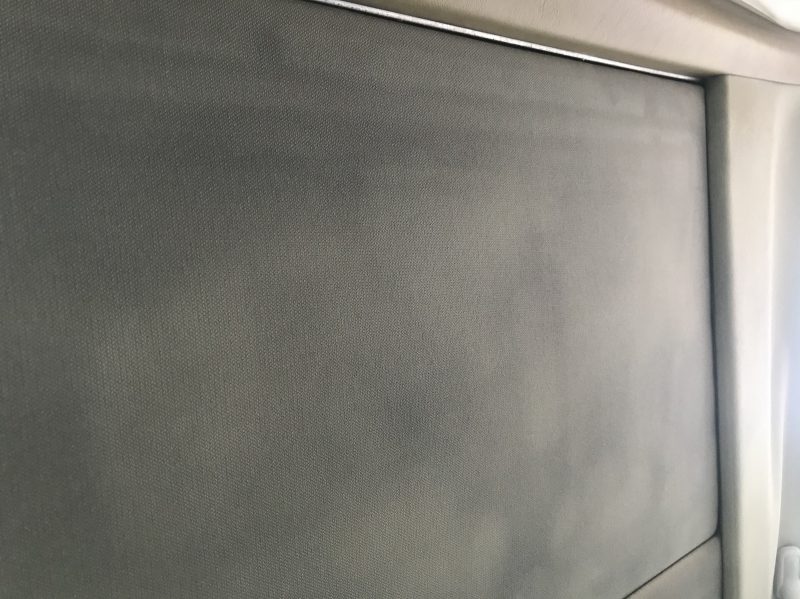
I also checked the condition of the air filter, it is not bad but does need changing. This has been added to the shopping list.
Originally I was planning to check if there was any residual charge in the AC. However, I discovered that the system has never been converted to R134A. This is surprising as it has been in Australia since 2005. Since A/C systems must be evacuated before import, it is possible it has not worked since then. That does not bode well for fixing it cheaply.
Also further investigation points to the occasional puffs of smoke as either Valve Stem Seals or Valve Guides. The Valve Stem seals can be done with the heads in place, but guides require the heads to be removed.