DS sill trim – replacement part 3
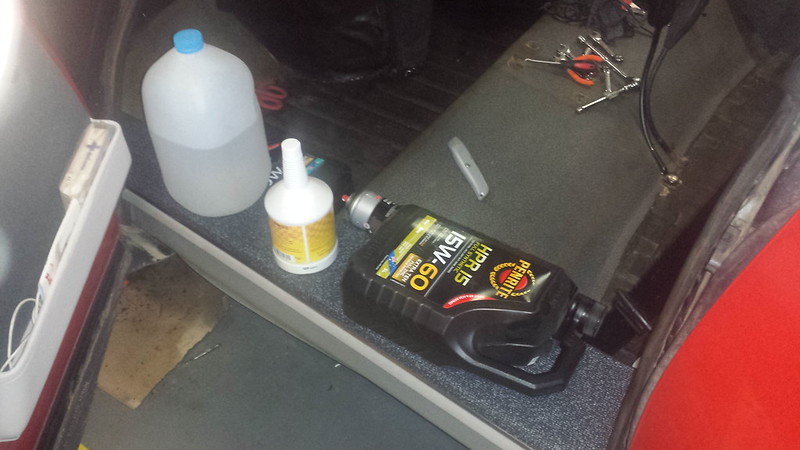
The installation of the new sill trim in the DS progresses. Today I was able to glue down the passengers side of the car after doing some final trimming to size (mostly done in part 2). I ended up using an entire can of spray adhesive, as the underside of the trim absorbs a lot of the glue. Unfortunately, I did not have clamps big enough, or old phone books, so I had to use water and oil containers to weight down the glue so it sticks properly.
The key was stretching it enough so it did not appear baggy, but making sure it stayed in the channel on the outside of the car. So far it seems to be working quite well – I’ll see in a day or so how well it has stuck down.
If this works well, I will repeat for the drivers side. There was an unknown black wire that went under the trim – not sure what it is for – hopefully I never have to get to it!
While I waited for the glue to dry, I also trimmed around the height corrector and accelerator pedal for the drivers side, so I should be ready to go next time.


1 Response
[…] DS sill trim – replacement part 3 […]