Citroen DS seat cover replacement part 1
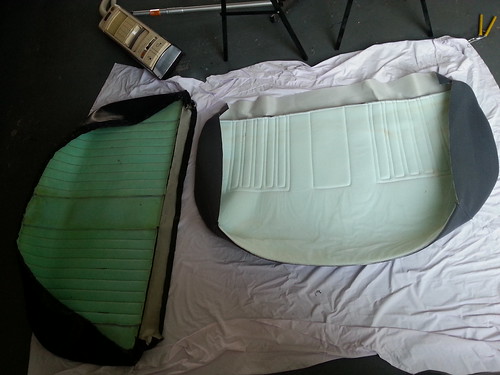
While I was In Europe in September, I purchased some new interior pieces for the DS. This included a set of seat covers, door cards, headrests and armrests. While there wasn’t anything wrong with the seat covers, the door cards were in poor shape, and I wanted to go to a cloth interior from a targa (vinyl) one, which is not correct for this car and not breathable in the Australian heat.
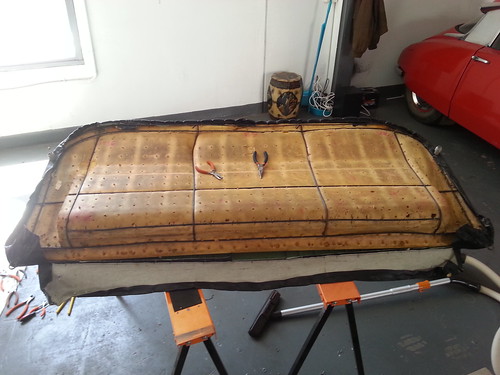
I started with the bottom of the back seat, as I figured this would be the easiest (it is just a big rectangle and one piece), and easy to still use the car when the seat is out.
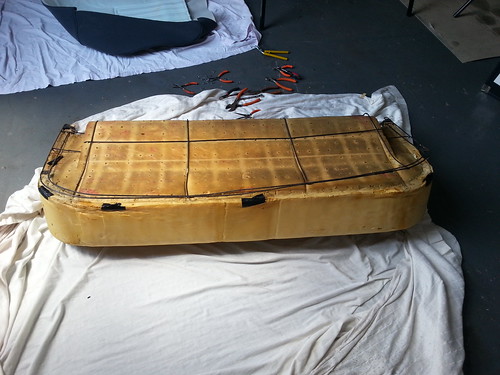
The seat cover is held on to a metal frame by hog rings, and then the metal frame is screwed into the foam. I found it easy to use two sets of needle nose pliers to remove the old hog rings, one slightly larger set in my left hand for leverage, and a smaller set with a curved end in my right hand. (I’m right handed).
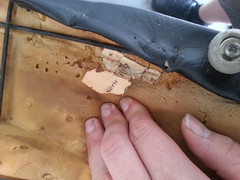
During the removal of the old Targa seat cover, I also found a damaged tag that said ‘Serie 109’. I have found reference to these tags on the Internet before, but at this stage I am not sure how to decode it. These are most likely the original seats for the car, but I don’t have any proof of that. My current theory is that this number refers to the original colour of the seats, and in a catalogue I have for aftermarket seat covers, 109 is a gold colour, which corresponds to the original white exterior colour of this car. (In 1970 you could have white with a red or gold interior)
I have purchased new hog rings and a set of hog ring pliers to mount the new seat covers to the frame. The frame is slightly bent, but the seat still sits fine, so I will re-use it and my foam.







1 Response
[…] Citroen DS seat cover replacement part 1 […]