
W123 under bonnet insulation
The under bonnet insulation on my W123 240D had started to crumble on the edges. While it had only just started happening, it also appeared that the car didn’t have a proper insulation mat. I’m not sure if it was an older aftermarket option, or something cut to size but it looked like some thin light coloured foam. Since I was doing this job on the 450SLC, I figure it was a good time to get both done at the same time.
This insulation is quite important. Not only does it reduce noise, but it does protect the paint. My old 230E crazing in the paint above the hot engine from driving a few years with no insulation. The car wasn’t even that old back then. The paint on this car is nice and original and I don’t want to damage it.
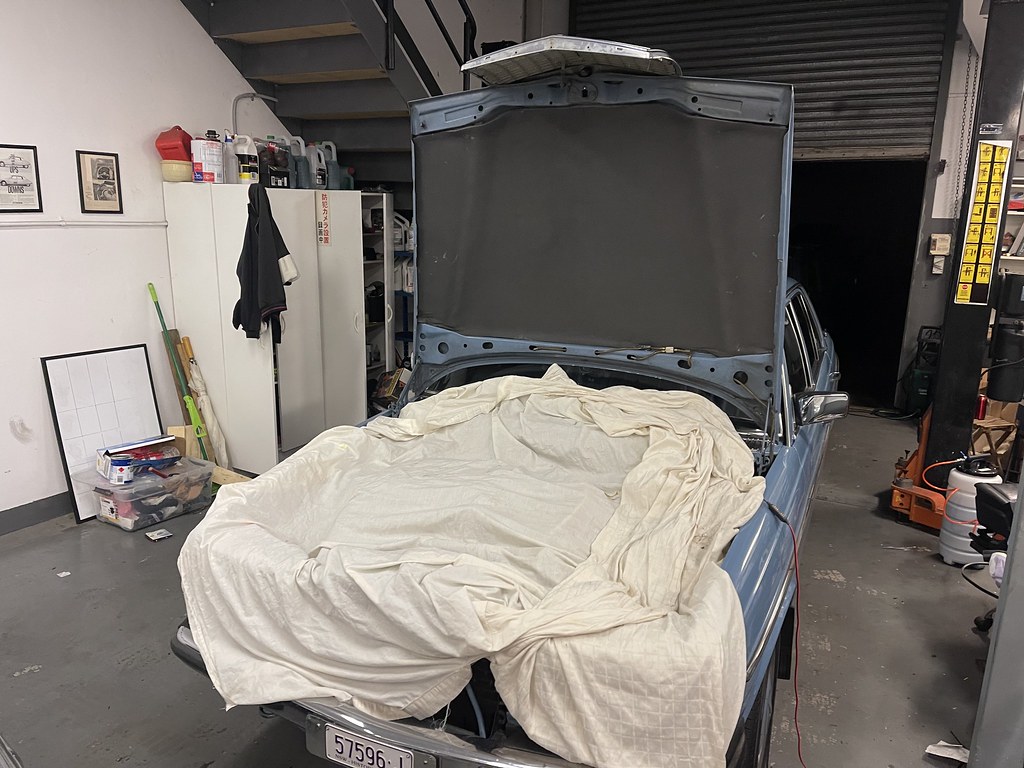
I used the same method I used back 5 years ago on my W126 300SE. To start with, I used a plastic scraper to remove as much of the old one as I could.
 I found for the bigger lumps, it was easier to have the bonnet in the regular position. Once I got most of it off, I then moved the bonnet into the service position and moved the sheet up. This is the longest part of the job. It doesn’t matter if all the old glue doesn’t come off, but its important there are not any loose bits.
Once I had the old one cleaned up, It was time to apply the adhesive. As with last time, I used Seallys Kwik Grip Vertical Gel. It has the right temperature rating and is still holding the insulation on my 560SEC and my old 300SE perfectly, five years later.
I find its easiest to apply it with my fingers using 7mm gloves. The W123 requires a little more than a can and a half. I took the opportunity to change gloves when I opened the second can. It seems to eat into the gloves if you don’t.
 The Seallys product suggests waiting 20-40 minutes before mating the two surfaces. I prefer to do it sooner, as it gives me a bit more ability to move things if I don’t get it quite right first go. For example, in this case, I didn’t have it aligned properly against the leading edge of the bonnet, so I was able to peel it back and re-apply.
I also use gloves to apply the W123 under bonnet insulation. That way, if I get a bit of glue on my fingers, I change gloves and I don’t spread the glue around. I think I must have used 5-6 pairs of gloves to get the job done. When I got a bit of glue on the paint, the can suggested white spirit to remove it. I didn’t have that, but hand sanitizer worked great.
As with earlier, I find it easier to start with the bonnet in the regular position. Once the pad is generally in the right place, move to the service position to work on the lower edge.
 Once that was done, I lowered it again to tuck in the leading edge. The whole job takes 1-2 hours depending on how long is needed to remove the old insulation mat. I find this job pretty easy to do myself, but that maybe because I am tall and can reach most of the bonnet.
Doing the job at the same time as the 450SLC resulted in three cans of the Seallys adhesive across both cars. While I was there, I also replaced the two clips for the sun visors so they were not flopping around. They are still available new from Mercedes-Benz. They are the W126 part number that supports a light in the mirror. Not as cheap as they used to be, but still available in the colour I needed.


2 Responses
[…] now done this job on the 126 saloon and coupe, as well as the 123. Those cars are quite easy. The 107 is much more of a pain. For starters, the bonnet […]
[…] this year: Motor mounts and A/C regas, under bonnet insulation, radio repair, algae in the fuel tank (part 1, part 2, part 3, part 4, part 5, part 6, part […]