
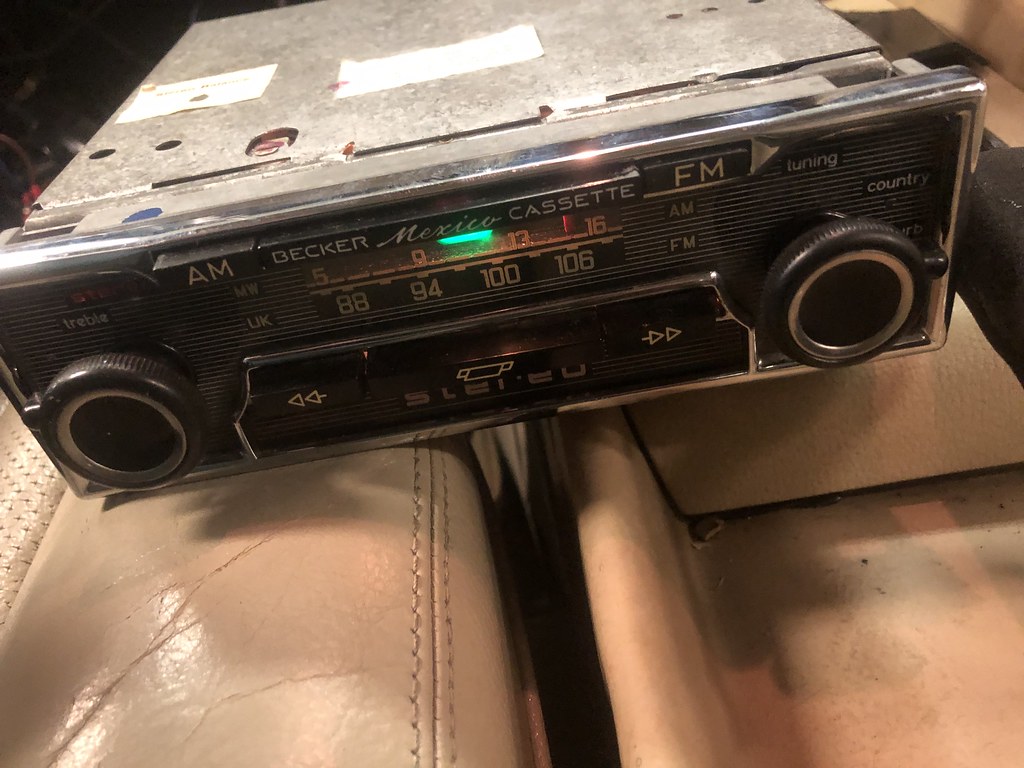
450SLC Becker Mexico Cassette install part 3 – Wiring up the Becker
I am currently in the process of installing a Becker Mexico Cassette in 1977 Mercedes 450SLC. In the first part, I covered buying and testing the radio. In the second part, I replaced all the speakers in the car. In this part I am covering the removal of the old Pioneer CD player and cleaning up the wiring in the car.
The challenge is that in the first 10-20 years these cars were around, they had all sorts of radios, phone kits, alarms and so on. Most of the time the wiring for these systems is incredibly shoddy. In many cases the companies offering these services either include them when buying the hardware, or charge a flat rage. Either way it doesn’t allow for these things to be done properly. It is a reason why it can be worth seeking out a car with its original radio still in place.
First was to trace all the wires going into the current radio. The main ones I needed was the wires for each speaker, the switched power, constant power and antenna trigger. There were some other wires that looked like they were the remains of some of the old phone kits. The only one I couldn’t test properly is the antenna trigger, as the power antenna is not working properly.

The install ultimately has more than just the Becker. It includes USB charging ports so the ashtray doesn’t have to be hanging open while I drive. It is also going to include the iSimple Tranzit BLU, the same as I used on the 560SEC and 300TE.
To ensure there was no power drain, I didn’t want the USB ports to be live all the time. I also wanted to trigger the Tranzit BLU off the Becker, so the phone wouldn’t pair when it couldn’t actually work. This resulted in using two relays. The first one triggered off the switched power lead and powered up the Becker and the USB ports. I didn’t want to power the Tranzit BLU off the Becker, so used another relay for this too. It probably doesn’t draw much current, but I don’t know exactly. The diagram below outlines the wiring I came up with for the Becker.

I could have run the USB ports off the switched power line for the radio, but the Becker only draws 2A, and the USB ports are rated at 3A. I am not sure if this is each, or combined. Possibly overkill, but using relays never hurt for an application like this. In reality though, a better place to introduce relays in the car would be for the headlights, but that could be a future project.
To try and simplify things, I used a double terminal block for the ground wires and the constant power. I grabbed it from the 420SEL parts car, so it should be a high quality unit. I had a couple of spare relays on hand I could use.
The diagram makes it look like there are a lot of wires, but its fairly simple. The main concept is that the trigger for the first relay is the ignition key, and the trigger for the second relay is turning on the Becker Mexico.
Before I fully installed all this in the car, I wanted to test it all. Would be a major hassle if I installed it all, and nothing worked. The passengers footwell worked quite well for this. worked out well that I did, as I had to fix a couple of small things with how I wired up the relays.

I also had to wire in the speakers from four to two. The Becker Amplifier is a 2x7W unit. When it was new, it went through the factory fader switch. I’m not going to put that back in, so I just wired all four speakers to work all the time.
Testing the Becker, it sounded pretty good with music playing via my phone. There was a small amount of background noise that was more apparent at low volume. I don’t think it would be audible with the engine running or with the wind noise while driving.


This is part of a series of articles on installing the Becker Mexico Cassette in my 1977 450SLC.
1) Procuring and testing the radio: https://www.classicjalopy.com/2022/07/planning-becker-radio-installs/
2) Cleaning up old wiring: https://www.classicjalopy.com/2021/11/450slc-radio-wiring/
3) Install Part 1 – Preparing the radio: https://www.classicjalopy.com/2023/05/450slc-becker-mexico-cassette-install-part-1-preparing-the-radio/
4) Install Part 2 – Upgrading the speakers: https://www.classicjalopy.com/2023/05/450slc-becker-mexico-cassette-install-part-2-upgrading-the-speakers/
5) Install Part 3 – Wiring Up the Becker: https://www.classicjalopy.com/2023/05/450slc-becker-mexico-cassette-install-part-3-wiring-up-the-becker/
6) Install Part 4 – Final installation: https://www.classicjalopy.com/2023/06/450slc-becker-mexico-cassette-install-part-4-final-installation/
So what amp did you finally go with since the original was missing? Thank you. Enjoy the site.