
W111 123 ignition – part 1
A couple of weeks ago, I posted an update about my W111 running issues. A reader who is an expert in these cars suggested I fit a 123 ignition distributor. His feedback was that even if it doesn’t solve my current running problem, it is a very worthwhile upgrade. My mechanic also thought the issues were probably ignition related. Based on that, I decided fit one.
I spoke to the local agent for 123 ignition, and based on that discussion, I checked the distributor in the car. My car being an early 250SE (10/65) has ‘0 231 116 047’. This lined up with the technical data book, indicating the distributor is likely original.

The ‘047’ distributor lined up with the Mercedes-6-R-V distributor. This distributor was also used on late 230SLs. The Mercedes-6-R-V had a curve (D) to replace this. I was also advised to buy a new coil, and I went with a Beru blue coil. The requirements were that it didn’t use a ballast resistor and was at least 3 Ohms. Since I was trying to rule out the ignition system, I also ordered a new set of Beru leads.
The next day the local agent for 123 ignition contacted me to inform me that he didn’t actually have the Mercedes-6-R-V in stock, but he would be happy to upgrade me to the Tune+-6-R-V-M at no extra charge. The tune plus does not come with set curves, but instead is fully programmable via a bluetooth app. The app also lets you set a pin and use it as a immobilizer too. This was a very kind offer, and I was very happy to try the programmable distributor.
 Last week I started to install the 123 ignition distributor. I reviewed the manual, and also watched the video from 123 ignition. It seemed fairly straightforward.
The first step was to set the car to TDC. I took the lazy approach and used a remote starter switch to turn the engine on the starter. Next, I removed the cap and ignition leads from the car. I was able to confirm that I was at TDC but also checking the rotor was pointing to the marking for #1 on the distributor.
It was a simple task to remove the old distributor. I also removed the ballast resistor (not needed with the 123 ignition). I couldn’t get the old coil out of the bracket, as the screws were rounded off, so for now I just put the new coil next to the old one. The new distributor seemed to slide in quite easily.
The next part of the installation is to time the distributor. The distributor has three wires coming from it. There is a red wire, that goes on the positive side of the coil, along with the switched power from the car. The blue wires is a ground and the black one goes on the negative terminal of the coil. These wires do not come with ring terminals, which you need to fit yourself. To do the timing, you only connect the red and blue wires.
The procedure is that you first turn on the key, and then turn the body of the distributor anti-clockwise until the green light comes on. I did this, but I was a bit perplexed as the green light only came on when the rotor arm wasn’t quite lined up with #1 on the cap. After trying a few times, I wasn’t able to get it to line up perfectly. I decided to get it as close as I could and try it. To try it, I tightened up the distributor, fitted the cap, fitted the leads, and fitted the back wire.
I tried starting the car, and it wouldn’t run. By this time it was about 11pm, and I was a bit frustrated so I went home.
Over the weekend, I found a lot of people on the W113 pagoda forum had fitted 123 ignition distributors to the pagodas. These were primarily people who owned US model 280SLs with the emissions system that retards the ignition.
Today I went back to the car for a fresh look. I wanted to start from scratch, so I attached my remote starter switch and took off the distributor cap to find TDC. I was able to use the scale on the crank pully and looking at the cam through the oil cap to find TDC. In doing so, I noticed something important. When turning over the engine, the rotor arm was hardly moving. Obviously the car isn’t going to run when the rotor arm does not move.
This prompted me to think of something I had read on the pagoda forum. Some members had reported that the clamp that tightens the distributor fouls on the distributor body, and stops it properly engaging the engine. To solve, a few posters simply turned the clamp over, so it faced down.
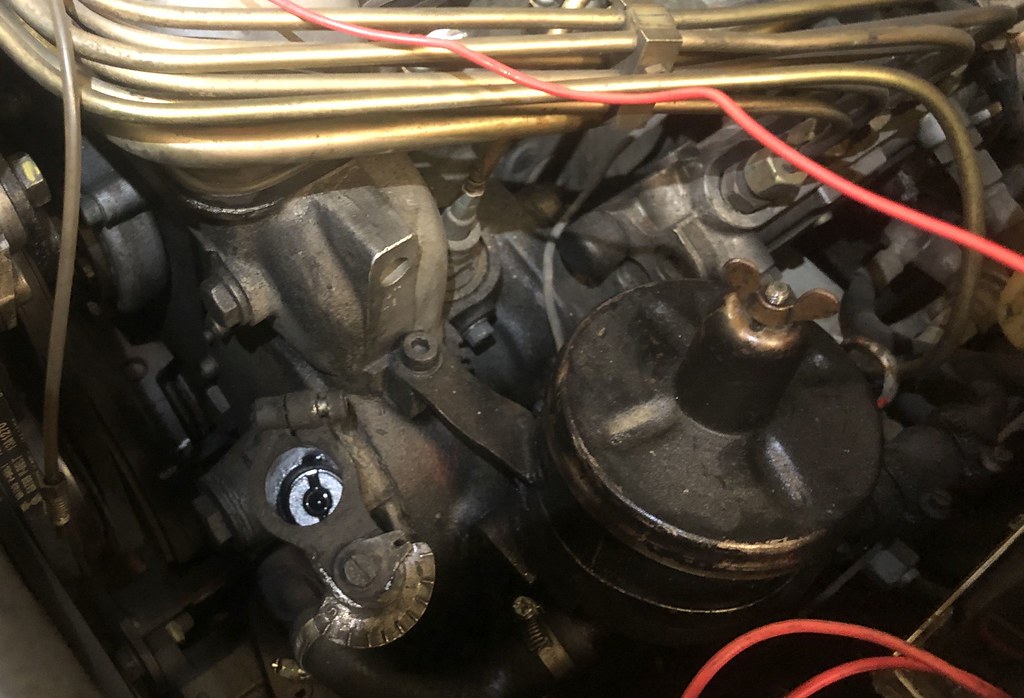 The picture above shows the camp before I turned it over. The portion where the screw goes into the camp is what fouls on the distributor. With the clamp inverted, the distributor went in properly and I was able to set the position correctly so the rotor arm was pointing to #1.
The green light indicated that the distributor was in the correct position.
 I tightened up the distributor, fitted the cap, leads and the black line. This time, the car fired up properly and seemed to run quite well, albeit with a very high idle. That was expected, as I had not yet connected the vacuum line. The ‘047’ distributor uses a vacuum retard. The factory vacuum line screws in, but I was able to extend and adapt the vacuum line with some joiners from the 420SEL parts car.
With the vacuum line connected, the idle settled down, although it was still a little high.
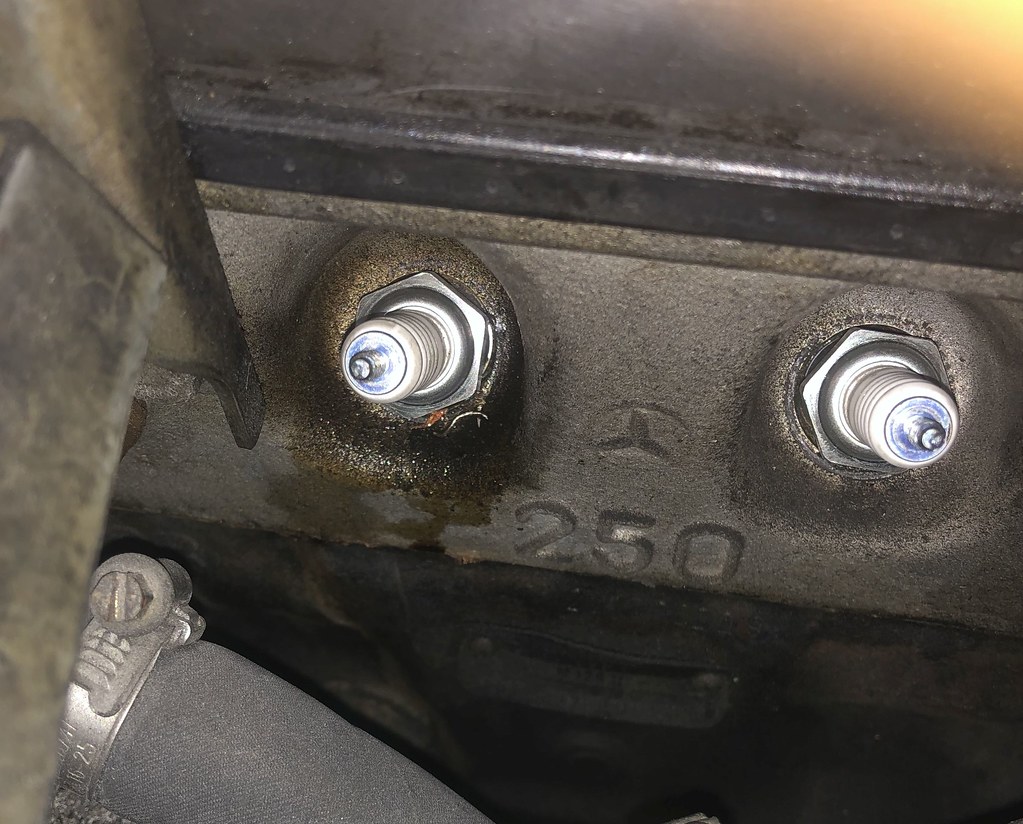
When fitting the leads, I noticed that there was some residue under the spark plug for #5. Perhaps some leakage. Once I get everything working properly here, I will change the plugs too, but I want to focus on one thing at a time.
 From there I focused on tidying up the wiring and leads, so I could take the car for a test drive and play with the tunable ignition curves. The 123 ignition app is quite good and shows various stats that you can monitor while the engine is running.
Tomorrow I will take the car for a test drive and see how it goes.
Update 6/10/23: Link to part two.


2 Responses
[…] W111 123 ignition – part 1 […]
[…] Work this year: Fitted a 55A alternator and a 123 ignition. […]